Lightboard Training
The Filming Process
The Lightboard offers a unique type of filming not seen in other projects. In short, the end goal is shooting a set of consistent (nearly identical) short videos. A high level of consistency will dramatically reduce the time necessary to edit the videos. Coordinate closely with the client to establish a rhythm for the filming process, as Lightboard filming involves a good deal of starting and stopping. A detailed breakdown of the filming process is below.
Before the Filming
It's important to work with the client to make them feel comfortable with the board and filming. Luckily, many people are used to writing and talking in front of a board, so it's easy to get them feeling relaxed after a few takes. Explain some important reminders about the board (such as don't stand behind directly in front of the writing) and be sure to mention that mistakes are absolutely fine as every section can be reshot.
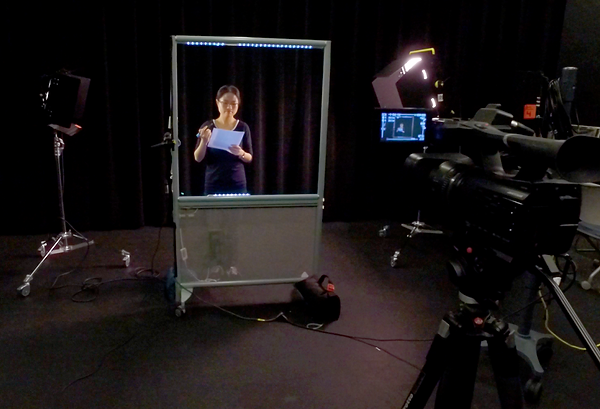
Have the client stand in front of the board and do final checks for proper lighting and sound capture. Remember, the client should be gently illuminated, but the board and backdrop should not have any light falling on them.
After everything is set up, a good strategy is to shoot a practice take where the client explains who they are and what they'll be teaching. Review the take with the client on the camera so they have a better idea of how things look on your end.

During the Filming
After the Filming
After the filming, go over the topics covered by the client and make sure everything was covered. Get a final count for how many videos they'd like to have when the project is completed. The default is one video outputted per video topic shot, but some clients would prefer the clips compiled into a single video. Let the client know that the edited videos will be available for pickup or delivery within one to two weeks. (It may be the case that this is more time than we need, but it's always better to overestimate than underestimate!)
Finally, restore the shared studio space to its previous state. The Lightboard and its cords should be carefully wrapped up, the stage lights and sandbags should be put back in their area, and all camera equipment needs to be returned to the production office. Eject the memory cards and put them in the red editor envelopes in the media production office and update the project ticket.